 |
|
|
| ◆ | 前提条件 |
| Webサーバー、SQLサーバーが稼働していることが前提条件 | |
| ◆ | WordPress のダウンロード |
| WordPress を WordPress のサイトよりダウンロード | |
|
[root@papa-net]# wget http://ja.wordpress.org/wordpress-4.9.5-ja.zip |
|
| ※最新版を確認(日本語版の最新版は 2018年5月現在 4.9.5) | |
| ダウンロードしたファイルを解凍 | |
|
[root@papa-net]# unzip wordpress-4.9.5-ja.zip |
|
| 解凍したファイルをホームページ公開ディレクトリに移動 | |
|
[root@papa-net]# mv wordpress /home/****/ ( **** はHP公開ディレクトリ) |
|
| ダウンロードした不要なファイルを削除 | |
|
[root@papa-net]# rm -rf wordpress-4.9.5-ja.zip |
|
| WordPressの所有者(実行権限者)を apache に変更 | |
|
[root@papa-net]# chown -R root.apache /home/****/wordpress ( **** はHP公開ディレクトリ) |
|
| ◆ | WordPress用のSQLサーバーデータベースの管理ユーザ作成 |
|
[root@papa-net# mysql -u root -p****** (****** はパスワード) Welcome to the MariaDB monitor. Commands end with ; or \g. Your MariaDB connection id is 2 Server version: 5.5.37-MariaDB MariaDB Server Copyright (c) 2000, 2014, Oracle, Monty Program Ab and others. Type 'help;' or '\h' for help. Type '\c' to clear the current input statement. MariaDB [(none)]> create database wordpress; <--- 入力(データベース wordpress の作成) Query OK, 1 rows affected (0.00 sec) MariaDB [(none)]> grant all privileges on wordpress.* to xxxx@localhost identified by '******'; Query OK, 0 rows affected (0.00 sec) ↑ 入力(xxxx はユーザー名・****** はパスワード) MariaDB [(none)]> exit <--- 入力 Bye |
|
| ◆ | WordPressの設定 |
| 設定ファイルをサンプルよりコピー | |
|
[root@papa-net]# cp /home/****/wordpress/wp-config-sample.php /home/****/wordpress/wp-config.php |
|
| 設定ファイルの設定 | |
|
[root@papa-net]# vi /home/****/wordpress/wp-config.php ( **** はHP公開ディレクトリ) 途中略 // ** MySQL 設定 - こちらの情報はホスティング先から入手してください。 ** // /** WordPress のためのデータベース名 */ define('DB_NAME', 'database_name_here'); <--- 書き換え(上記で作成した データベース名) ↓ define('DB_NAME', 'wordpress'); /** MySQL データベースのユーザー名 */ define('DB_USER', 'username_here'); <--- 書き換え(上記で作成した ユーザー名) ↓ define('DB_USER', 'xxxx'); /** MySQL データベースのパスワード */ define('DB_PASSWORD', 'password_here'); <--- 書き換え(上記で作成したパスワード) ↓ define('DB_PASSWORD', '******'); 途中略 /**#@+ * 認証用ユニークキー * * それぞれを異なるユニーク (一意) な文字列に変更してください。 * {@link https://api.wordpress.org/secret-key/1.1/ WordPress.org の秘密鍵サービス} * で自動生成することもできます。 * 後でいつでも変更して、既存のすべての cookie を無効にできます。これにより、 * すべてのユーザーを強制的に再ログインさせることができます。 * * @since 2.6.0 */ define('AUTH_KEY', 'put your unique phrase here'); <--- 書き換え(適当なフレーズ) ↓ define('AUTH_KEY', 'kjlhuipyuhnuty87yuyt8i6rg67ruyj'); define('SECURE_AUTH_KEY', 'put your unique phrase here'); <--- 書き換え(適当なフレーズ) ↓ define('SECURE_AUTH_KEY', 'kjlhuipyuhnuty87yuyt8i6rg67ruyj'); define('LOGGED_IN_KEY', 'put your unique phrase here'); <--- 書き換え(適当なフレーズ) ↓ define('LOGGED_IN_KEY', 'kjlhuipyuhnuty87yuyt8i6rg67ruyj'); define('NONCE_KEY', 'put your unique phrase here'); <--- 書き換え(適当なフレーズ) ↓ define('NONCE_KEY', 'kjlhuipyuhnuty87yuyt8i6rg67ruyj'); define('AUTH_SALT', 'put your unique phrase here'); <--- 書き換え(適当なフレーズ) ↓ define('AUTH_SALT', 'kjlhuipyuhnuty87yuyt8i6rg67ruyj'); define('SECURE_AUTH_SALT', 'put your unique phrase here'); <--- 書き換え(適当なフレーズ) ↓ define('SECURE_AUTH_SALT', 'kjlhuipyuhnuty87yuyt8i6rg67ruyj'); define('LOGGED_IN_SALT', 'put your unique phrase here'); <--- 書き換え(適当なフレーズ) ↓ define('LOGGED_IN_SALT', 'kjlhuipyuhnuty87yuyt8i6rg67ruyj'); define('NONCE_KEY', 'put your unique phrase here'); <--- 書き換え(適当なフレーズ) ↓ define('NONCE_KEY', 'kjlhuipyuhnuty87yuyt8i6rg67ruyj'); /**#@-*/ 以下略 |
|
| WordPress をアップロードしたディレクトリのアクセス権を書き込み可能(777)に変更 | |
|
[root@papa-net]# chmod 777 /home/****/wordpress ( **** はHP公開ディレクトリ) |
|
| ◆ | PHP・Apache の設定 |
| PHP コードがそのまま表示されてしまう事への対策 | |
|
[root@fedora]# vi /etc/php.ini 途中略 ;;;;;;;;;;;;;;;;;;;; ; Language Options ; ;;;;;;;;;;;;;;;;;;;; ; Enable the PHP scripting language engine under Apache. ; http://php.net/engine engine = On ; This directive determines whether or not PHP will recognize code between ; <? and ?> tags as PHP source which should be processed as such. It's been ; recommended for several years that you not use the short tag "short cut" and ; instead to use the full <?php and ?> tag combination. With the wide spread use ; of XML and use of these tags by other languages, the server can become easily ; confused and end up parsing the wrong code in the wrong context. But because ; this short cut has been a feature for such a long time, it's currently still ; supported for backwards compatibility, but we recommend you don't use them. ; Default Value: On ; Development Value: Off ; Production Value: Off ; http://php.net/short-open-tag short_open_tag = Off <--- 書き換え(PHPコードがそのまま表示されてしまう事への対策) ↓ short_open_tag = on 以下略 |
|
|
[root@papa-net]# vi /etc/httpd/conf/httpd.conf 途中略 <IfModule mime_module> # # TypesConfig points to the file containing the list of mappings from # filename extension to MIME-type. # TypesConfig /etc/mime.types # # AddType allows you to add to or override the MIME configuration # file specified in TypesConfig for specific file types. # #AddType application/x-gzip .tgz # # AddEncoding allows you to have certain browsers uncompress # information on the fly. Note: Not all browsers support this. # #AddEncoding x-compress .Z #AddEncoding x-gzip .gz .tgz # # If the AddEncoding directives above are commented-out, then you # probably should define those extensions to indicate media types: # AddType application/x-compress .Z AddType application/x-gzip .gz .tgz # # AddHandler allows you to map certain file extensions to "handlers": # actions unrelated to filetype. These can be either built into the server # or added with the Action directive (see below) # # To use CGI scripts outside of ScriptAliased directories: # (You will also need to add "ExecCGI" to the "Options" directive.) # AddHandler cgi-script .cgi .pl # For type maps (negotiated resources): #AddHandler type-map var # # Filters allow you to process content before it is sent to the client. # # To parse .shtml files for server-side includes (SSI): # (You will also need to add "Includes" to the "Options" directive.) # AddType text/html .shtml 以下追記 (PHPコードがそのまま表示されてしまう事への対策) AddType application/x-httpd-php .php AddType application/x-httpd-php-source .phps AddOutputFilter INCLUDES .shtml </IfModule> 以下略 |
|
| ◆ | WordPress にログイン |
|
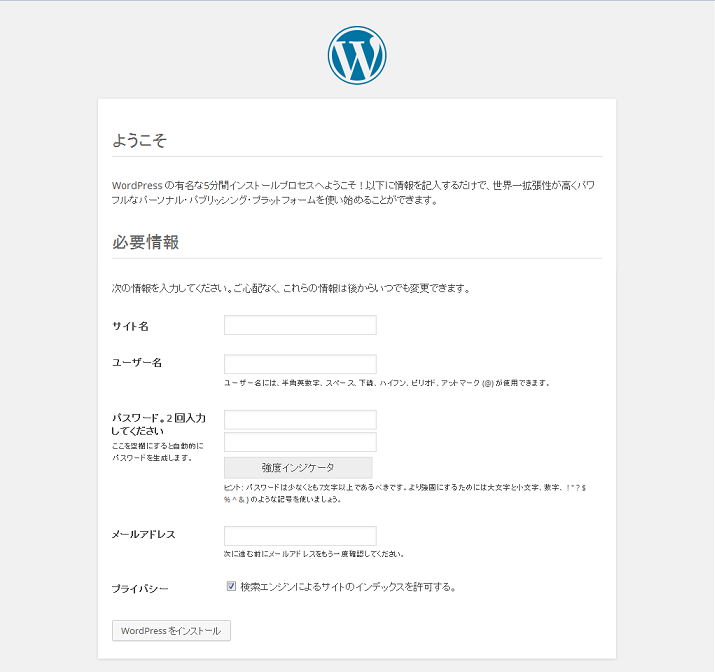
クライアントPCのインターネットブラウザを開き WordPress をアップロードしたディレクトリにアクセス 『サイト名』・『ユーザー名』・『パスワード』・『メールアドレス』を入力して『WordPress をインストール』をクリック |
|
|
|
|
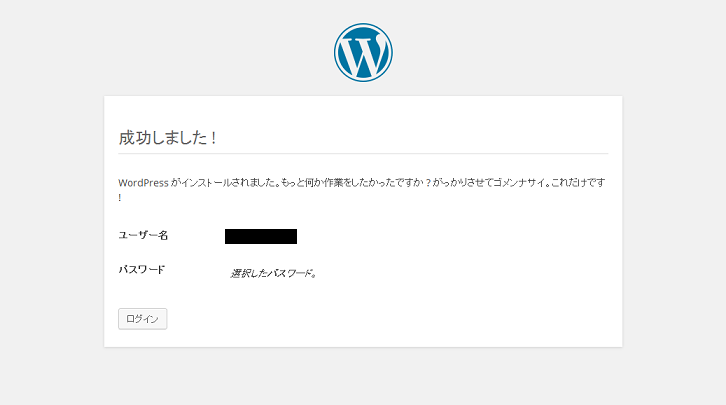
| 『ログイン』をクリック | |
|
|
|
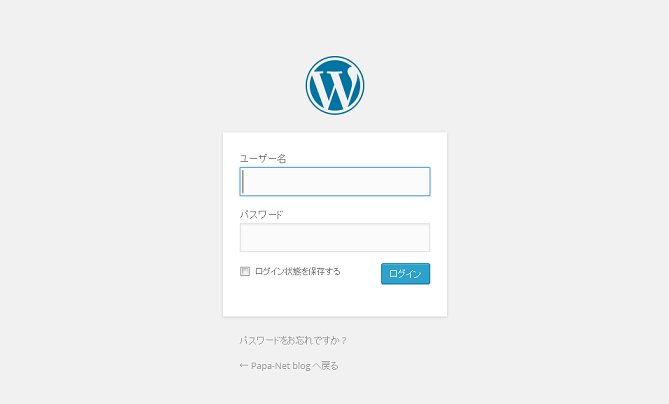
| 『ユーザー名』 ・ 『パスワード』を入力して『ログイン』をクリック | |
|
|
|
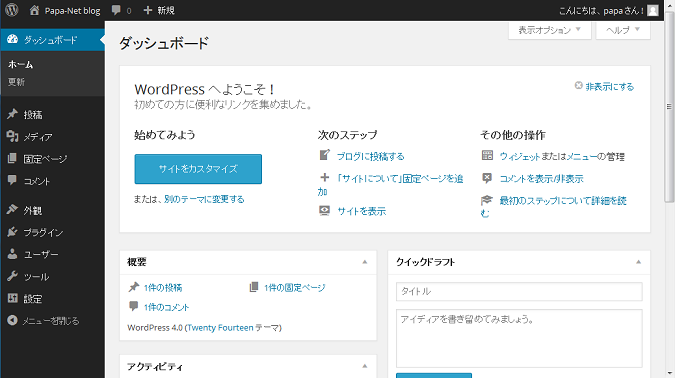
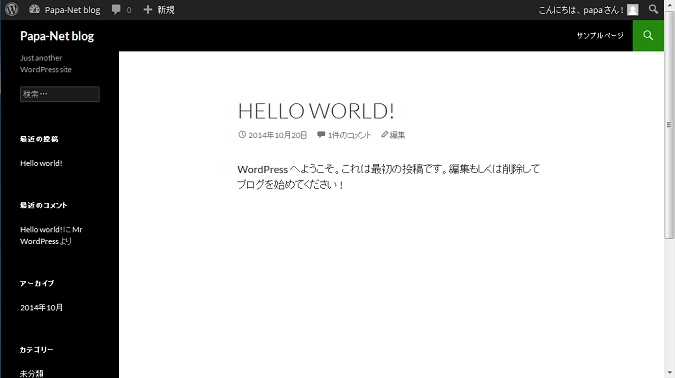
| 下図のようなページが管理画面が開くので必要に応じて設定 | |
|
|
|
| 上図左上の『サイトのタイトル』をクリックして通常画面の表示 | |
|
|
|
| ◆ | WordPress Importer のインストール |
| インポート・エクスポートを実行するためのプラグインをインストール | |
|
[root@papa-net]# wget http://downloads.wordpress.org/plugin/wordpress-importer.0.2.zip |
|
| ダウンロードしたファイルを解凍 | |
|
[root@papa-net]# unzip wordpress-importer.0.2.zip |
|
| 解凍したファイルを WordPress のプラグインディレクトリに移動 | |
|
[root@papa-net]# mv wordpress-importer /home/****/wordpress/wp-content/plugins/ |
|
| ※ **** はHP公開ディレクトリ | |
| ダウンロードした不要なファイルを削除 | |
|
[root@papa-net# rm -rf wordpress-importer.0.2.zip |
|
| ◆ | インポートデータの容量制限の変更 |
wordpress の再構築等で以前のバックアップデータをインポートする場合は最高2MBまでのバックアップデータしかインポートできないので php.ini を変更 |
|
|
[root@papa-net]# vi /etc/php.ini 途中略 ;;;;;;;;;;;;;;;; ; File Uploads ; ;;;;;;;;;;;;;;;; ; Whether to allow HTTP file uploads. file_uploads = On ; Temporary directory for HTTP uploaded files (will use system default if not ; specified). ;upload_tmp_dir = ; Maximum allowed size for uploaded files. upload_max_filesize = 2M <--- 書き換え (適当なサイズに変更) ↓ upload_max_filesize = 10M 以下略 |
|
| 設定を反映させるように Apache を再起動 | |
|
[root@papa-net]# systemctl restart httpd |
|
| これでインポートができるようになる | |